
Hostwinds Tutorials
Search results for:
Table of Contents
How to Install Visual Composer on a Cloud VPS
Tags: Cloud Servers, WordPress, VPS
Visual Composer is a plugin that one can add to a WordPress site. Visual Composer provides drag-and-drop functionality options to create blogs, e-commerce sites, personal portfolios, and more. Much like Weebly, Visual Composer makes customizing your websites faster and easier without coding the website itself. Visual Composer provides SEO (Search Engine Optimization), eCommerce integration, and more.
Visual Composer Requirements
Visual Composer is a plugin provided in WordPress and, as such, requires WordPress installation before installing. WordPress installation on your server will require PHP versions of 7.2 or higher, MySQL 5.6, or MariaDB 10.0 or higher. Furthermore, we recommend Apache installation as a reliable HTTP server. Although you may have installed WordPress on a Windows server, the following instructions are specific to Wordpress installed on a Linux OS. Linux is free and doesn't necessarily involve licensing fees such as Windows.
Visual Composer Preparation
Update DNF Repository
Updating the DNF will ensure that you remove the installations, updates, and specific packages from RPM-based Linux operating systems.
Step 1: Update the DNF package repository with the following command:
dnf makecache
Install Apache, PHP, and MariaDB
Step 1: Install Apache, PHP, MariaDB with the following command. Enter "Y" for yes when prompted.
dnf install mariadb mariadb-server httpd httpd-tools php php-cli php-json php-gd php-mbstring php-pdo php-xml php-mysqlnd php-fpm php-pecl-zip tar curl php-json wget
Step 2: Start both the Apache webserver and the MariaDB services.
systemctl start mariadb
systemctl start httpd
Step 3: Enable MariaDB and httpd to start after system reboot:
systemctl enable mariadb
systemctl enable httpd
Step 4: Verify MariaDB is actively running. You should see "active (running)"
systemctl status mariadb
Step 5: Check to see that Apache is actively running. You should see "active (running)"
systemctl status httpd
Step 6: Make sure that your MariaDB database. Enter "Y" for yes for all proceeding questions after command and password creation. If you have not set up the MariaDB password already and it is new, the default password will remain blank. Therefore just press enter to bypass the password and enter a new one.
mysql_secure_installation
Create Database and User for WordPress
Traditionally, Visual Composer installs as a plugin within WordPress. Before installing WordPress itself, begin by creating the database and user for the installation.
Step 1: Create a new database for WordPress. Traditionally the database name created will be your primary domain name, followed by db. For example, "domaindb".
Enter mysql
mysql -u root -p
Create the database
CREATE DATABASE {insert-database-name}db;
Step 2: While you are still in SQL, create a new admin user and provide admin access to the database. Your admin user can use any name, but we recommend "**{insert-domain-name}**usr". Additionally, create a customized password to insert within the below SQL commands too.
CREATE USER `{insert-domain-name}usr`@`localhost` IDENTIFIED BY '12345678';GRANT ALL ON {insert-database-name}db.* TO `{insert-domain-name}usr`@`localhost`;FLUSH PRIVILEGES;
Step 3: exit MariaDB
exit
Install WordPress
Step 1: Install the latest version of WordPress from https://wordpress.org/download/ . Start by downloading the WordPress installation package and extracting its content into /var/www/html/ folder
cd /var/www/html/
curl https://wordpress.org/latest.tar.gz --output wordpress.tar.gz
tar -xzf wordpress.tar.gz
Step 2: Move the extracted WordPress directory into the /var/www/html directory under the specific domain name. You will create this by running first the make directory command.
mkdir {insert-domain-name}
mv wordpress/* {insert-domain-name}
Step 3: Change permissions for Apache to appropriately access your WordPress folder/file
chown -R apache:apache /var/www/html/{insert-domain-name}
Note, if SELinux is enabled, run the following command to set the correct SELinux context to the /var/www/html/{insert-domain-name}/ directory and its contents.
semanage fcontext -a -t httpd_sys_rw_content_t "/var/www/html/{insert-domain-name}/"
For the SELinux changes to take effect, additionally run the following command.
restorecon -Rv /var/www/html/{insert-domain-name}/
Step 4: Now, create a new Apache configuration file {insert-domain-name}.conf for the WordPress website with the following command, which should open up your file into a Vi text editor
vi /etc/httpd/conf.d/{insert-domain-name}.conf
Step 5: Insert into text mode by pressing "i" and insert the following:
<VirtualHost *:80>
ServerAdmin root@localhost
DocumentRoot /var/www/html/{insert-domain-name}
<Directory "/var/www/html/{insert-domain-name}">
Options Indexes FollowSymLinks
AllowOverride all
Require all granted
</Directory>
ErrorLog /var/log/httpd/{insert-domain-name}_error.log
CustomLog /var/log/httpd/{insert-domain-name}_access.log common
</VirtualHost>
Now, press \, type in :wq! and press \ to save the file.
Note that you can ensure your text is entered correctly by running the following:
cat /etc/httpd/conf.d/{insert-domain-name}.conf
Step 6: Restart your Apache httpd service.
systemctl restart httpd
Step 7: You should now access your WordPress installation wizard and perform the actual WordPress installation needed for Visual Composer installation. Navigate your browser to http://{insert-domain-name}/wp-admin/install.php
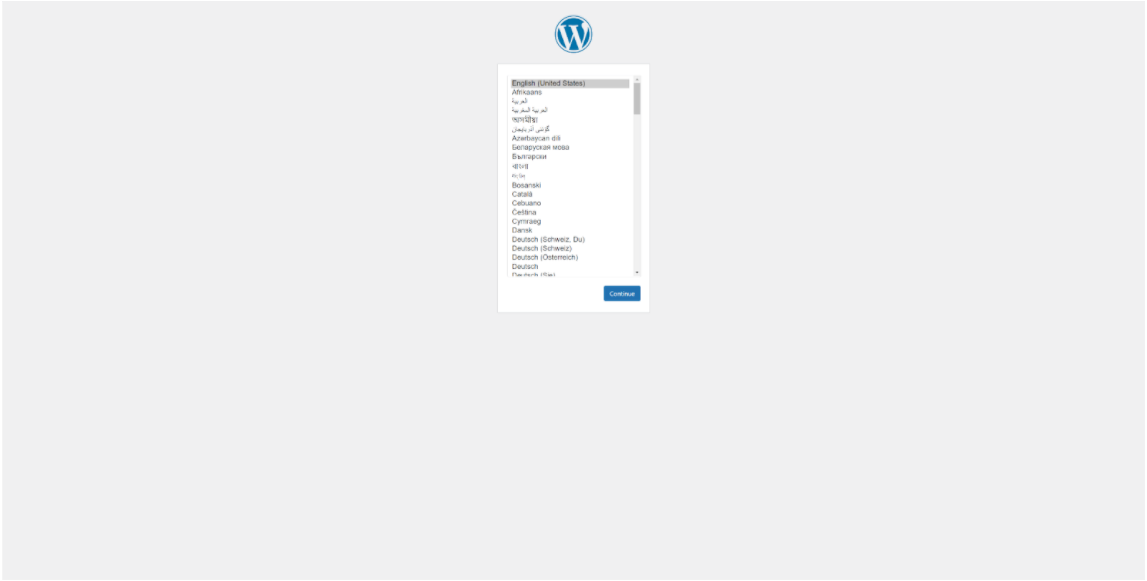
Follow along with the installation wizard. You will need the database name you created with MariaDB and the login details.
When done, select the "run the installation" button
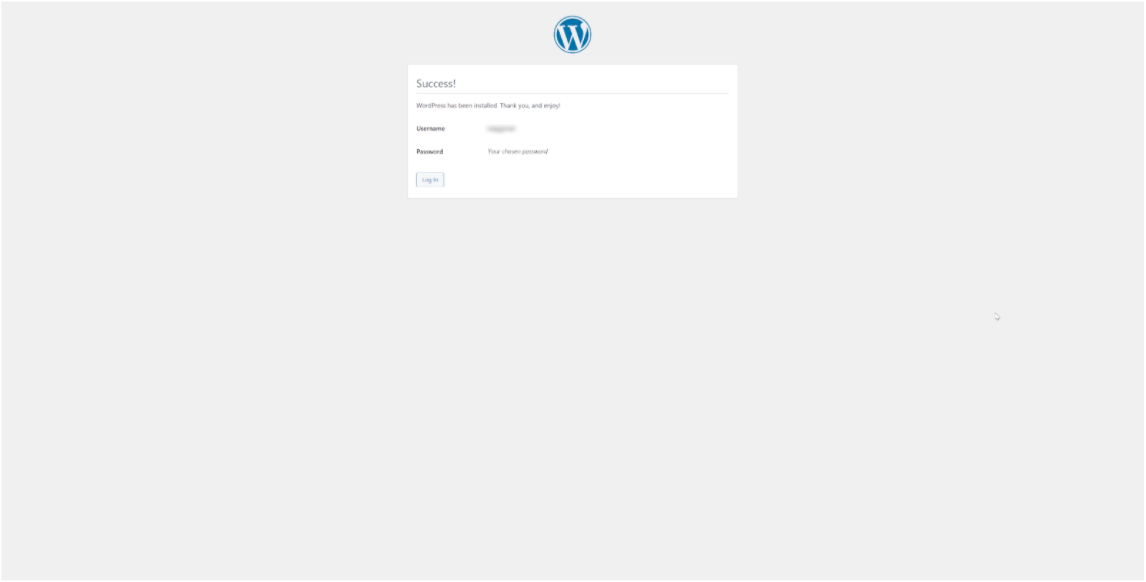
After running the installation, you are prompted to name your Wordpress installation and create a WordPress username and password. Provide the required information, store this information safely, and proceed further with the installation. Once completed, you should see a successful installation provided by WordPress.
Installing Visual Composer
Now that you have installed the prerequisite installations for Visual Composer, proceed with the following steps to complete the installation.
Step 1: Login into your WordPress account by navigating to your {insert-domain-name}/wp-admin and login with your created credentials.
Step 2: Open the WordPress dashboard and select the Plugins from the available options within the column. Choose "Add New" from the available options under Plugins.
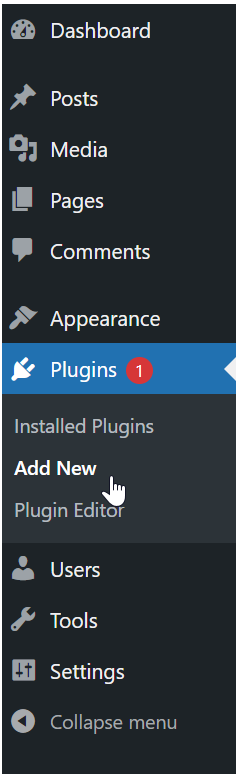
Step 3: Search for Visual Composer within the Plugin search bar. Select "Install Now" once you find it.
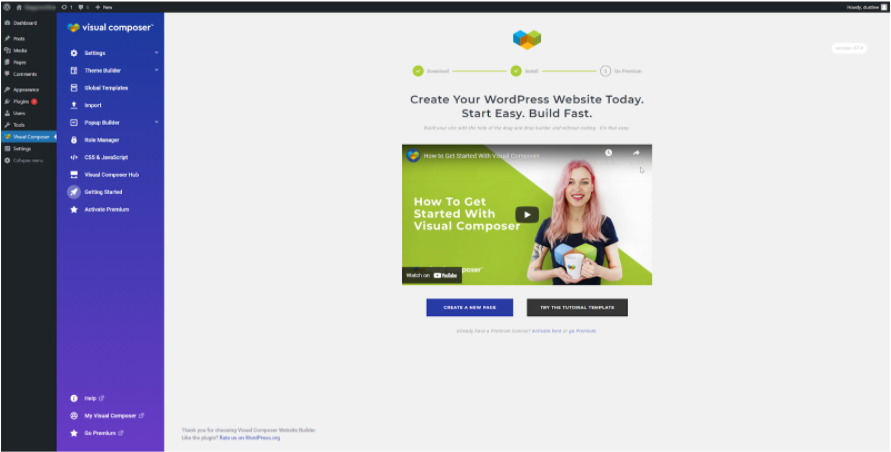
Step 4: Once the plugin installs, the button for installation of the Visual Composer plugin should provide activation. Select "Activate" to properly activate the newly installed plugin.
Visual Composer is now active and working on your server. Proceed with the installation wizard or tutorials to create your website(s).
Written by Hostwinds Team / July 30, 2021